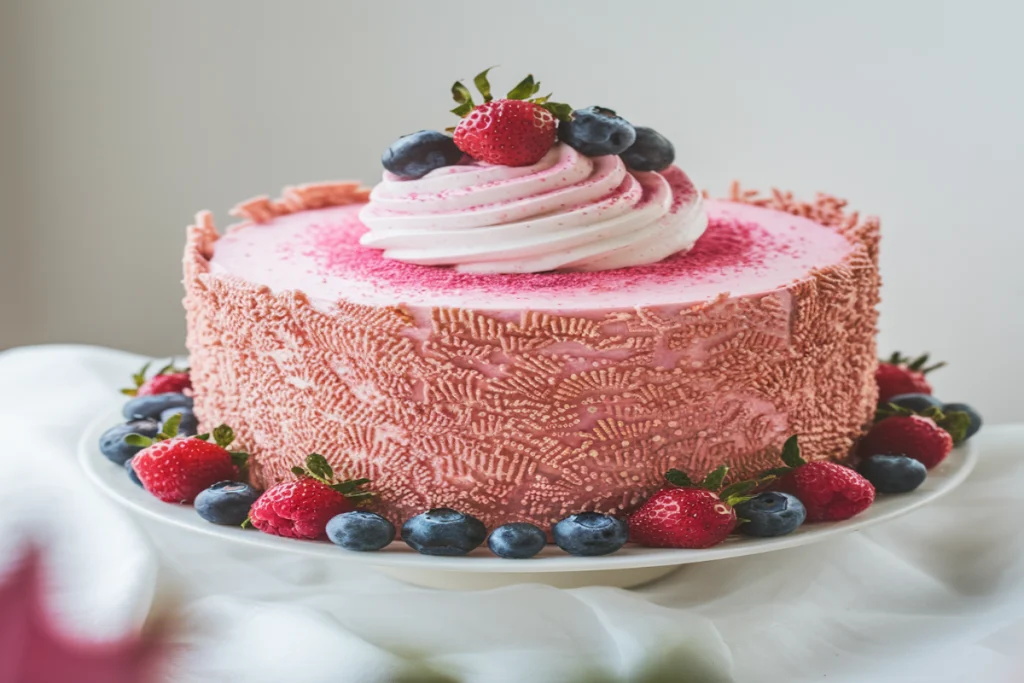
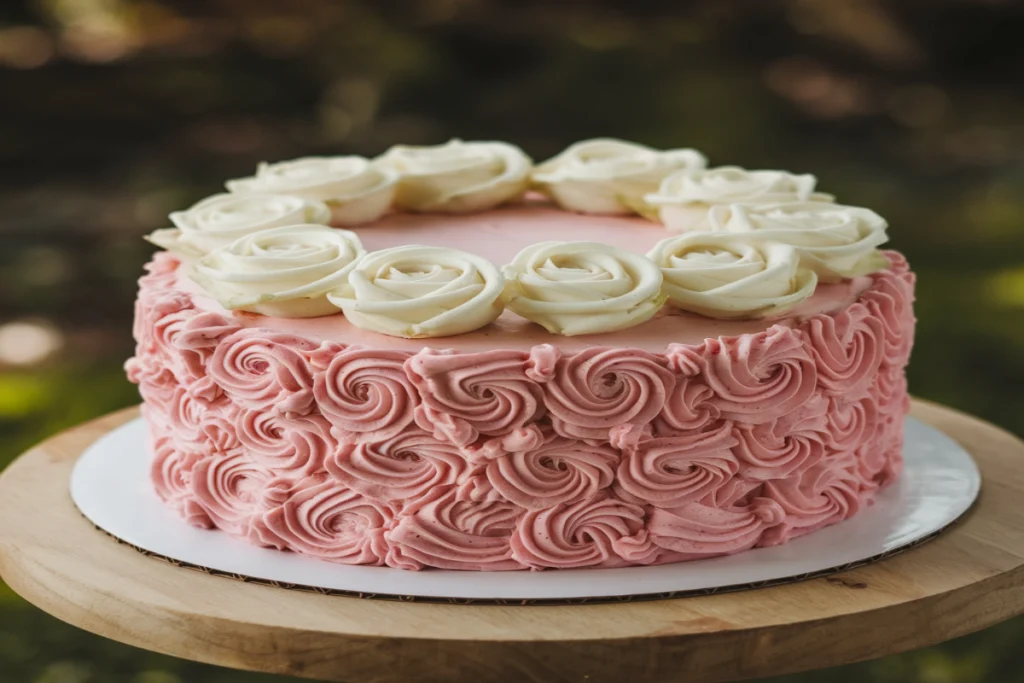
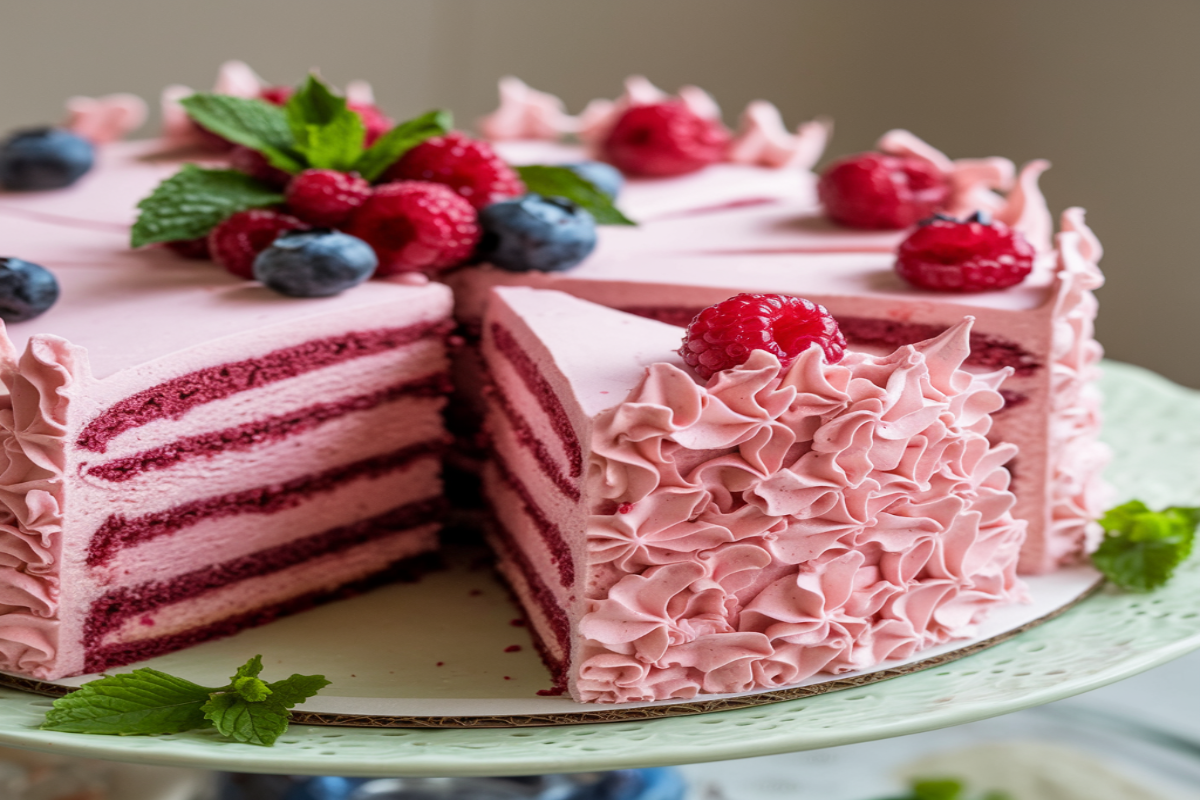
Are you looking for the perfect cake to make for a celebration? Whether it’s for a birthday, Valentine’s Day, a baby shower, or any festive occasion, pink velvet cake is a showstopper. With its stunning color and rich, moist texture, this cake is a favorite for anyone looking to add a little flair to their dessert table. In this comprehensive guide, we’ll walk you through the ingredients, recipe steps, and expert tips for crafting the perfect pink velvet cake at home.
Introduction: What is Pink Velvet Cake?
Pink velvet cake is a delightful variation of the classic red velvet cake. While red velvet tends to use more cocoa powder and food coloring for its signature hue, pink velvet is often more subtle in its flavors and color. The cake is soft and tender, thanks to the use of buttermilk and vinegar, two key ingredients that give velvet cakes their velvety texture.
The main appeal of this cake is its vibrant pink hue, which is perfect for themed celebrations. Whether you’re making a heart-shaped pink velvet cake for a romantic event or cupcakes for a birthday party, this cake is guaranteed to impress.
Unlike traditional cakes, pink velvet cake balances the slight tanginess of buttermilk with the sweet richness of cream cheese frosting, making it a favorite for those who love a contrast of flavors.
Ingredients Breakdown
The Key Ingredients:
To create the ultimate pink velvet cake, you need to understand the function of each ingredient:
- Flour: Use all-purpose flour as the base for your cake. It provides the structure, but be sure not to over-mix the batter as this can lead to a dense cake.
- Cocoa Powder: The amount of cocoa powder used in pink velvet cake is minimal compared to red velvet cake. You only need about 1 tablespoon of unsweetened cocoa powder. The cocoa gives a slight richness but doesn’t overpower the vanilla flavor.
- Buttermilk: The tangy buttermilk helps create a moist, tender crumb. Buttermilk also reacts with the baking soda to provide lift to the cake, resulting in that light, fluffy texture characteristic of velvet cakes. If you don’t have buttermilk on hand, you can make your own by adding 1 tablespoon of vinegar or lemon juice to a cup of milk.
- Vinegar: Adding a teaspoon of vinegar helps activate the baking soda, creating a chemical reaction that makes the cake rise. It also helps to tenderize the flour and adds a slight tang, balancing out the sweetness of the cake.
- Food Coloring: The star of this cake is, of course, the color. You can use either liquid or gel food coloring to achieve the desired pink hue. If you prefer natural colorings, you can use beet juice or freeze-dried strawberries ground into a powder for a beautiful shade of pink.
- Cream Cheese Frosting: The classic pairing for pink velvet cake is cream cheese frosting, which offers a tangy, smooth contrast to the sweet cake. You’ll need softened cream cheese, butter, powdered sugar, and vanilla extract for a simple yet luxurious frosting.

Optional Add-ins:
- Strawberry Jam: If you want to add a fruity layer, strawberry jam works wonderfully between the layers of the cake.
- Candies and Edible Flowers: For decoration, you can use sprinkles, heart-shaped candies, or edible flowers to elevate the presentation of your cake.
Step-by-Step Recipe for Pink Velvet Cake )
Here’s the full recipe for making a perfect pink velvet cake from scratch:
Ingredients for the Cake:
- 2 ½ cups all-purpose flour
- 1 tablespoon unsweetened cocoa powder
- 1 teaspoon baking powder
- ½ teaspoon baking soda
- 1 teaspoon salt
- 1 cup unsalted butter, softened
- 2 cups granulated sugar
- 3 large eggs
- 1 tablespoon vanilla extract
- 1 cup buttermilk
- 1 tablespoon white vinegar
- Pink food coloring (liquid or gel)
Ingredients for Cream Cheese Frosting:
- 8 oz. cream cheese, softened
- ½ cup unsalted butter, softened
- 4 cups powdered sugar
- 1 tablespoon vanilla extract
- Pinch of salt
Directions:
- Preheat the Oven: Set your oven to 350°F (175°C). Grease and flour two 9-inch cake pans or line them with parchment paper for easy removal.
- Mix Dry Ingredients: In a medium-sized bowl, whisk together the flour, cocoa powder, baking powder, baking soda, and salt. This ensures all dry ingredients are evenly distributed.
- Cream the Butter and Sugar: In a large mixing bowl, beat together the softened butter and sugar until light and fluffy, about 3-4 minutes. This step helps to incorporate air into the batter, ensuring a light cake.
- Add the Eggs and Vanilla: Add the eggs one at a time, beating well after each addition. Then, mix in the vanilla extract.
- Combine the Wet and Dry Ingredients: Gradually add the dry ingredients to the butter mixture, alternating with the buttermilk. Start and end with the dry ingredients. This method ensures the cake batter stays light and airy.
- Add Vinegar and Food Coloring: Stir in the vinegar and a few drops of pink food coloring until you achieve your desired shade. Remember, the color will deepen as the cake bakes.
- Bake the Cake: Divide the batter evenly between the two prepared pans. Bake for 25-30 minutes or until a toothpick inserted in the center comes out clean. Allow the cakes to cool in the pans for 10 minutes before transferring them to a wire rack to cool completely.
- Make the Cream Cheese Frosting: While the cakes are cooling, beat the softened cream cheese and butter together until smooth. Gradually add the powdered sugar, 1 cup at a time, until the frosting is creamy and thick. Finally, mix in the vanilla extract and a pinch of salt.
- Frost the Cake: Once the cakes are completely cooled, frost the top of one layer, add the second layer, and frost the entire cake. You can smooth the frosting with an offset spatula for a polished look or leave it a bit rustic for a more homemade feel.
Tips for Customizing Your Cake
One of the best things about pink velvet cake is its versatility. Here are a few ways to customize your cake to suit your personal taste or the occasion:
- Fruit Fillings: For an extra fruity twist, spread a thin layer of strawberry jam or raspberry preserves between the cake layers before frosting.
- Whipped Cream Frosting: If you prefer something lighter than cream cheese frosting, you can swap it out for a simple whipped cream frosting. Just whip 2 cups of heavy cream with ½ cup powdered sugar until stiff peaks form.
- Gluten-Free Option: You can easily make this cake gluten-free by substituting the all-purpose flour with a gluten-free baking blend. Make sure the blend contains xanthan gum, which helps mimic the structure gluten provides.
- Vegan Pink Velvet Cake: To make a vegan version of this cake, use plant-based substitutes. Replace the butter with vegan butter, the buttermilk with almond milk mixed with apple cider vinegar, and use a vegan cream cheese for the frosting.
- Natural Pink Colorings: If you want to avoid artificial food coloring, there are natural alternatives. Beet juice or freeze-dried strawberries ground into powder can give your cake a vibrant pink hue without any additives.
Making Pink Velvet Cupcakes
If you prefer cupcakes over a traditional cake, this recipe works wonderfully for pink velvet cupcakes:
- Prepare the Batter: Follow the same recipe as above for the cake batter.
- Line the Cupcake Pan: Use cupcake liners in a standard muffin tin. This recipe should make about 24 cupcakes.
- Fill and Bake: Fill each cupcake liner about ¾ full with batter. Bake the cupcakes at 350°F (175°C) for 18-20 minutes, or until a toothpick inserted in the center comes out clean.
- Frost and Decorate: Once cooled, frost the cupcakes with cream cheese frosting. Top with sprinkles, edible glitter, or fruit for a festive touch.

Common Mistakes and How to Avoid Them
Over-Mixing the Batter:
Be careful not to over-mix the cake batter, as this can lead to a dense, tough cake. Mix just until the ingredients are combined and smooth.
Not Achieving the Perfect Pink Color:
When adding food coloring, it’s essential to add a little at a time. The color will deepen as the cake bakes, so don’t overdo it at first. If using natural colorings, keep in mind they may not be as vibrant as synthetic dyes.
Dry Cake:
To avoid a dry cake, make sure not to overbake it. Check the cake 5 minutes before the recommended time to ensure it doesn’t overcook.
Pink Velvet Cake for Different Occasions
Pink velvet cake is a perfect choice for a variety of occasions:
- Valentine’s Day: A heart-shaped pink velvet cake is ideal for romantic celebrations.
- Baby Showers: The soft pink color makes this cake a popular choice for gender-reveal or baby shower parties.
- Birthdays: Customize the cake with sprinkles, candies, or edible flowers to make it birthday-ready.
For more themed dessert inspiration, consider pairing this cake with a whimsical dessert like these pancake donuts, which add another layer of fun to your dessert table.
How to Store and Freeze Pink Velvet Cake
Storing the Cake:
Once your cake is frosted, it should be stored in the refrigerator due to the cream cheese frosting. Make sure to cover the cake with plastic wrap or store it in an airtight container to prevent it from drying out. The cake will stay fresh for up to 5 days in the fridge.
Freezing the Cake:
If you want to make the cake ahead of time, you can freeze the unfrosted cake layers. Wrap each layer tightly in plastic wrap and then in aluminum foil. The cake will keep in the freezer for up to 3 months. When you’re ready to serve it, thaw the cake in the refrigerator overnight and frost it once it’s fully defrosted.
FAQs: Your Burning Questions Answered
What makes velvet cakes “velvet”?
Velvet cakes are known for their soft, smooth texture, which comes from the combination of buttermilk, vinegar, and a small amount of cocoa powder. These ingredients create a tender crumb that melts in your mouth.
Can I use natural food coloring for pink velvet cake?
Yes, natural food coloring options include beet juice or freeze-dried strawberry powder. These natural options will give the cake a light pink hue without the use of synthetic dyes.
How do I make a gluten-free pink velvet cake?
Simply substitute the all-purpose flour with a gluten-free baking blend. Make sure the blend contains xanthan gum or another binder to ensure the cake’s structure is similar to that of a regular cake.
Can I freeze the cake after it’s been frosted?
While it’s possible to freeze a frosted cake, the frosting may not hold up as well after thawing. It’s best to freeze the cake layers before frosting and then frost it once it has thawed.
Conclusion
Making a pink velvet cake at home is an easy and rewarding way to celebrate any special occasion. With its beautiful color, velvety texture, and tangy cream cheese frosting, this cake is sure to impress. By following this detailed recipe and adding your personal touches, you’ll be able to create a cake that’s as delicious as it is stunning.
From customizing the cake with fruity fillings to making cupcakes for a bite-sized treat, the possibilities are endless. Just be sure to follow the expert tips to avoid common mistakes like over-mixing or over-baking, and you’ll end up with a perfect cake every time.
Whether you’re making it for Valentine’s Day, a birthday, or simply as a treat for yourself, this pink velvet cake recipe will quickly become a favorite in your household.
