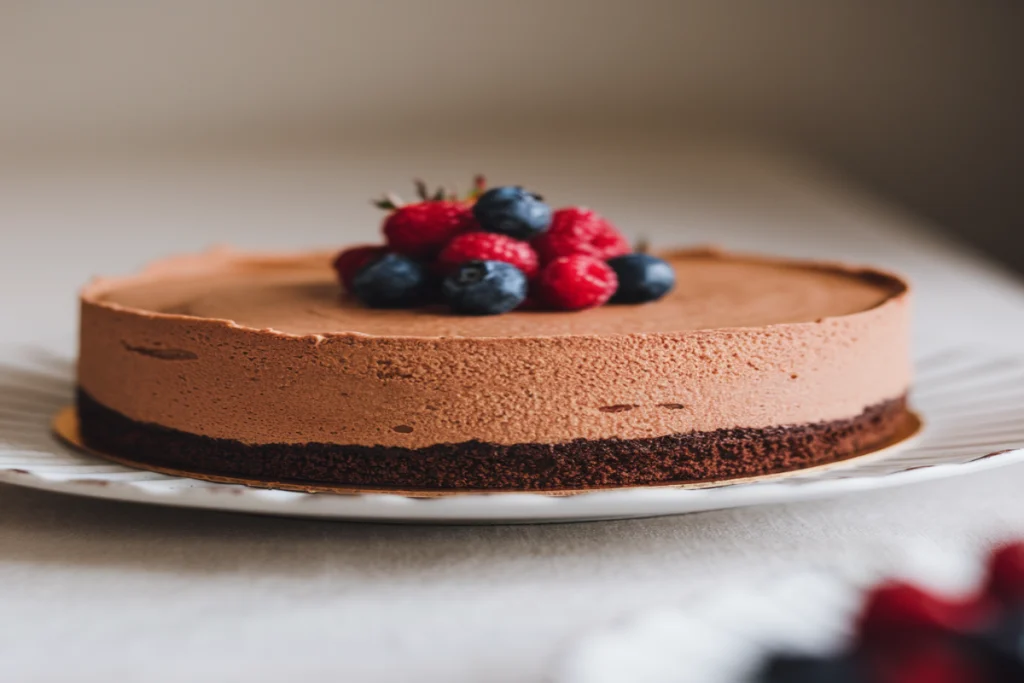
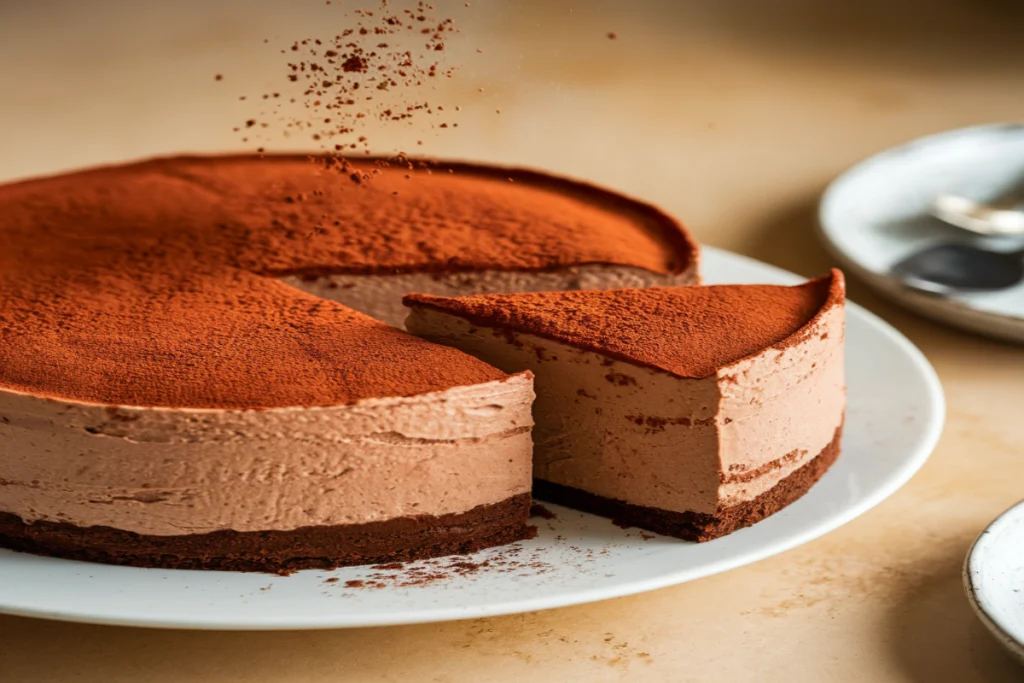
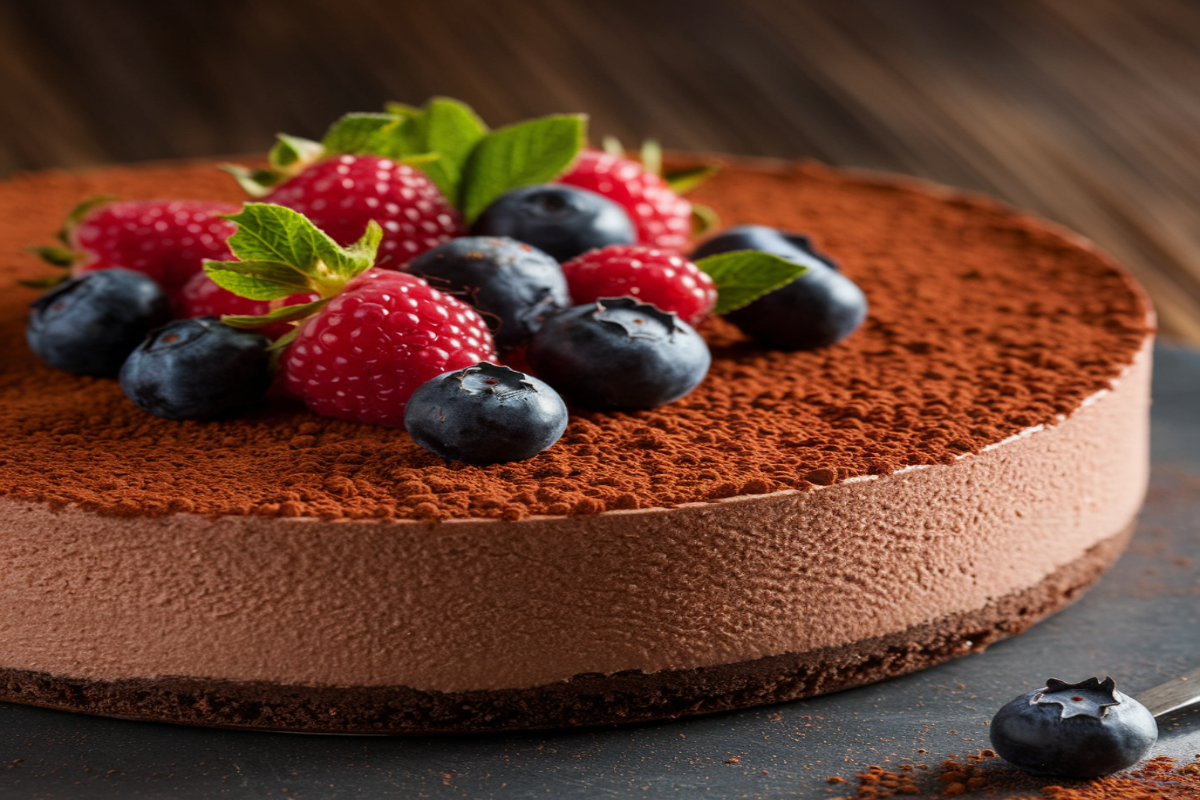
If you’re a lover of rich, creamy desserts, then chocolate mousse cheesecake is a must-try. This luxurious dessert combines the silky smoothness of classic cheesecake with the light, airy texture of chocolate mousse. Whether you’re making it for a special occasion or simply to treat yourself, this guide will take you through every step to create the perfect chocolate mousse cheesecake. Let’s dive into the details!
Part 1: Introduction to Chocolate mousse cheesecake recipe
Chocolate mousse cheesecake is a masterpiece for dessert lovers. Imagine the lusciousness of cheesecake paired with the lightness of mousse, all wrapped in rich chocolate. This combination elevates the traditional cheesecake into something truly special. The texture of this dessert is smooth and airy, striking the perfect balance between richness and lightness.
Not only is chocolate mousse cheesecake a feast for the taste buds, but it’s also visually stunning. A glossy layer of chocolate ganache on top makes it as beautiful as it is delicious. Plus, you can add decorative toppings like fresh berries, whipped cream, or even chocolate curls to take the presentation up a notch.
The key to perfecting this recipe is patience. While the process may seem lengthy, it’s not overly complicated. With the right ingredients and techniques, anyone can make this decadent dessert at home. By the end of this guide, you’ll have a cheesecake that looks and tastes like it came straight from a gourmet bakery.
Why is this dessert so special?
- It’s a fusion of two beloved desserts: cheesecake and mousse.
- The chocolate flavors are perfectly balanced between sweet and slightly bitter, offering a rich yet refined taste.
- The texture is a blend of creamy and airy, giving you the best of both worlds in every bite.
Whether you’re a seasoned baker or a beginner, this chocolate mousse cheesecake recipe will guide you through each step, ensuring that your dessert turns out perfectly. And for those looking to explore other cheesecake options, try our Blueberry Crumble Cheesecake for a fruity twist on the classic dessert.

Part 2: Ingredients Breakdown
Let’s take a closer look at the ingredients that make this chocolate mousse cheesecake so special. Each component plays a vital role in the flavor, texture, and overall success of your dessert.
1. Cheesecake Base
- Cream Cheese: The foundation of any cheesecake is cream cheese. To achieve the smoothest texture, make sure your cream cheese is at room temperature before mixing. Cold cream cheese can result in lumps, which will affect the overall texture of your cheesecake.
- Eggs: Eggs help bind the ingredients together, ensuring a firm yet creamy texture. Add them one at a time and mix just until incorporated to avoid over-whipping, which can introduce air into the batter and cause cracks during baking.
- Sugar: Sugar adds sweetness and balances the tangy flavor of the cream cheese. The amount of sugar can be adjusted slightly based on personal preference, but be careful not to reduce it too much, or your cheesecake may taste overly tangy.
- Vanilla Extract: Vanilla enhances the flavors in the cheesecake, providing a subtle background note that complements the chocolate.
- Semi-Sweet & Milk Chocolate: A combination of these two chocolates gives the cheesecake a rich, balanced chocolate flavor. You can adjust the ratios based on your taste—more semi-sweet chocolate for a deeper, more intense flavor, or more milk chocolate for a creamier, sweeter result.
2. Mousse Layer
- Heavy Cream: This is the key to achieving the light, airy texture of mousse. Whip the heavy cream to stiff peaks for the best results.
- Quality Chocolate: Use high-quality chocolate like Lindt or Ghirardelli for the mousse layer. The quality of the chocolate will significantly impact the flavor and texture of the mousse. Avoid using chocolate chips, as they often contain stabilizers that can affect the consistency when melted.
3. Oreo Crust
- Oreo Thins: Crushed Oreo thins make the perfect crust for this cheesecake. They provide a delightful crunch without the extra greasiness that comes with regular Oreos. The result is a crisp, light crust that complements the rich, creamy filling.
If you’re interested in experimenting with citrus desserts, try our Key Lime Cake Recipe for a refreshing twist on a classic cake.
Part 3: Step-by-Step Recipe Guide
1. Preparing the Oreo Crust
- Crush the Oreo thins: Place 40 Oreo thins in a food processor and pulse until finely ground. Alternatively, you can crush them by hand using a ziplock bag and a rolling pin.
- Mix with butter: Combine the crushed Oreos with 5 tablespoons of melted butter until the crumbs are evenly coated.
- Press into pan: Press the mixture into the bottom of a 9-inch springform pan. Make sure to press firmly so the crust holds together during baking. Set the pan aside.
2. Making the Cheesecake Filling
- Cream the cream cheese: In a large mixing bowl, beat 2 pounds of room-temperature cream cheese until smooth and creamy. Scrape down the sides of the bowl frequently to ensure there are no lumps.
- Add sugar and vanilla: Add 1¼ cups of sugar and 1 tablespoon of vanilla extract to the cream cheese. Beat until fully incorporated.
- Mix in eggs: Add 4 large eggs one at a time, beating just until each egg is incorporated. Be careful not to overmix.
- Add melted chocolate: Melt 4 ounces each of semi-sweet and milk chocolate in a double boiler or microwave. Let it cool slightly before adding to the cheesecake batter. Stir until well combined.
3. Baking the Cheesecake
- Preheat the oven: Preheat your oven to 325°F (160°C).
- Prepare a water bath: Wrap the bottom of the springform pan with aluminum foil to prevent water from seeping in. Place the pan inside a larger roasting pan and fill the roasting pan with boiling water until it reaches halfway up the sides of the springform pan.
- Bake: Pour the cheesecake batter into the prepared crust. Bake for 60 minutes, or until the edges are set but the center is still slightly jiggly.
- Cool gradually: Turn off the oven and crack the door slightly, allowing the cheesecake to cool in the oven for 30 minutes. This gradual cooling helps prevent the top from cracking.
4. Preparing the Chocolate Mousse
- Whip the cream: In a chilled bowl, whip 1½ cups of heavy cream to stiff peaks.
- Melt the chocolate: Melt 8 ounces of high-quality chocolate (use Lindt or Ghirardelli) and let it cool slightly before folding into the whipped cream.
- Combine: Gently fold the melted chocolate into the whipped cream until fully incorporated.
5. Assembling the Cheesecake
- Layer the mousse: Once the cheesecake has cooled completely, spread the chocolate mousse evenly over the top.
- Chill: Refrigerate the assembled cheesecake for at least 6 hours, or ideally overnight. This allows the mousse to set and the flavors to meld together.
6. Ganache Topping (Optional)
- Prepare the ganache: In a small saucepan, heat ¾ cup of heavy cream until it just begins to simmer. Pour the hot cream over 6 ounces of chopped dark chocolate and let it sit for 5 minutes. Stir until smooth and glossy.
- Top the cheesecake: Pour the ganache over the mousse layer, allowing it to drip down the sides for a beautiful finish. Refrigerate for 10 minutes to allow the ganache to set before serving.
Part 4: Expert Tips for a Perfect Cheesecake
Achieving the perfect Chocolate mousse cheesecake recipe isn’t difficult, but there are a few key tips to ensure your dessert turns out flawless.
1. Use Room Temperature Ingredients
When making cheesecake, it’s important that your cream cheese, eggs, and other dairy ingredients are at room temperature. This ensures a smooth, creamy texture and helps prevent lumps from forming in the batter.
2. Don’t Overmix the Batter
Overmixing introduces air into the batter, which can cause the cheesecake to puff up during baking and then collapse as it cools. Mix each ingredient just until incorporated to avoid this.
3. Bake in a Water Bath
A water bath helps the cheesecake cook evenly and prevents cracks from forming on the surface. Make sure to wrap the bottom of your springform pan with aluminum foil to prevent any water from leaking in.
4. Allow for Gradual Cooling
Cheesecakes are prone to cracking if they cool too quickly. Let the cheesecake cool in the oven with the door slightly ajar to avoid any sudden temperature changes.

Part 5: FAQs
1. Can I make Chocolate mousse cheesecake recipe ahead of time?
Yes! In fact, it’s recommended to make this cheesecake a day in advance. The flavors develop and meld together beautifully after a night in the fridge. Plus, it gives the mousse ample time to set, making it easier to slice cleanly.
2. Why did my cheesecake crack?
Cracks usually happen when the cheesecake cools too quickly or when it’s overbaked. Using a water bath and allowing for gradual cooling in the oven can help prevent this.
3. What’s the best way to slice cheesecake?
For perfect slices, dip a sharp knife in hot water, wipe it clean, and then make each cut. This will prevent the cheesecake from sticking to the knife, ensuring clean, smooth slices.
4. Can I freeze Chocolate mousse cheesecake recipe?
Yes, you can freeze the cheesecake without the mousse topping. Wrap it tightly in plastic wrap and aluminum foil before freezing. When ready to serve, let it thaw in the fridge overnight and then add the mousse.
Conclusion: Enjoy Every Bite
Now that you’ve followed the steps, you should have a stunning chocolate mousse cheesecake that’s as delicious as it looks. With its perfect balance of rich chocolate and creamy cheesecake, this dessert is sure to impress your family and friends. Serve it with fresh berries or a dollop of whipped cream to add a pop of color and extra flavor.
For those interested in more dessert inspiration, check out our Blueberry Crumble Cheesecake or explore our fun and easy Cake Pop Recipe.
Whether you’re an experienced baker or new to the kitchen, this guide ensures that you’ll create a show-stopping dessert. Enjoy every bite of your chocolate mousse cheesecake!
